This is one of those projects that brings back so many memories for me. I remember fondly opening up a gigantic box one year as a Christmas gift. It was from my Grandma Lova and inside the giant box was a handmade tied quilt that she had made for my bed. It was soft and super fluffy (I now suspect it had double batting in it) with a navy blue sheet on one side and a butterfly sheet on the other. I loved that warm quilt and had it on my bed for years. And now as an adult I appreciate it even more, because not only did I get a new quilt for my bed that year but all my siblings did too. The hours that she put into those tied quilts is now more of a gift for me—I think about her tying each quilt individually and the love that she put into each knot. It’s a good memory.

So last week when I was wanting an evening project to work on, I decided it was time to tie a quilt. Most people think that tying a quilt is hard, but when you see the process done…it really is simple. And since I don’t have a set of quilting frames at home, I thought I would show you how I tie my quilts at home without quilting frames.

I made a baby quilt, but the same process will work with any sized quilt. We used fabrics from The Confident Stitch.
Here is what you will need:

- 40″ square of front fabric (I used this flannel from The Confident Stitch)
- 45″ square of backing fabric (Any of these solids from The Confident Stitch would be great!)
- Tapestry needle with a sharp point
- quilting hoop (or large, sturdy embroidery hoop)
- 45″ square of warm and natural batting
- embroidery floss (I used 3 skeins for the baby quilt)
- quilt basting spray
- small scissors
And here is the process that I use to baste and then tie my quilts. (This is just one of many methods so if you have learned a different way, feel free to use that method!)
Step #1
The first step is going to be what is commonly known in the quilting world as “making a quilt sandwich” or otherwise called basting a quilt. It is to temporarily hold the three layers of a quilt together so you can begin quilting. Here’s how you do it…
Lay your backing fabric on a flat surface (I used the floor) and tape each of the four corners down so the fabric is taut. Spray a thin layer of basting spray over the backing and then gently lay down your batting so it is flat and smooth. (I start in the middle and work my way out lifting and smoothing bumps as needed.) Then spray a thin layer of basting spray over batting and lay the quilt top fabric over the top, making it as flat and smooth as you can. Since your quilt top is smaller than your backing and batting it will easily fit. Your quilt top should look like this below:

Step #2
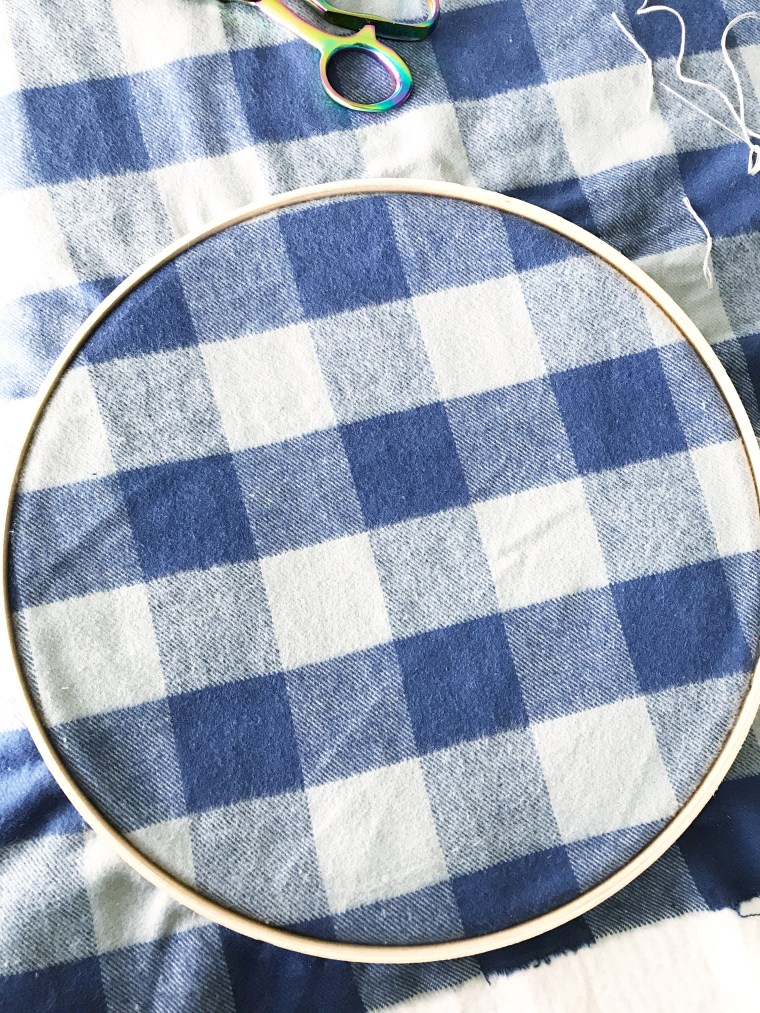
Now that your quilt has the three layers basted you can remove it from the floor. I don’t trim off any extra of the backing or batting just yet, I wait until after my quilt is quilted. Place the center section of the quilt in your quilting hoop so you can begin quilting. Quilting is the process of permanently securing those 3 layers together in a quilt.

Step #3
Thread a piece of embroidery floss and starting in the center of the quilt, take a small stitch making sure to catch each of the three layers.

Step #4
After you have taken a stitch leave a 2-3″ tail and tie a knot. I like to tie a square knot, but you can also just tie a double knot. As long as it stays in place–that’s the key. Then trim your ends to match. Repeat this step every 4-5″ inches to keep all three layers in place, moving your embroidery hoop as you go. I like to work from the center out. Since I was using a plaid flannel I tied knots at every other corner which was just under 4″ apart.

Step #5
After you have all the floss tied on your quilt, it’s time to trim and bind. To trim your quilt, use your rotary cutter and ruler to square up the blanket. Then bind your quilt. HERE is a good binding tutorial if you need one!
And you are done! And I put in an image below if you want to pin this tutorial to remember How to Tie a Quilt.

PS–There is a giveaway for a full sewing kit from The Confident Stitch going on over on Instagram, head over to enter to win!

You can also use wool yarn to tie your quilt. When you wash and dry the quilt the yarn will shrink and form a little round “button”.
great idea i’ll try this , thanks for sharing this
Digitizing