My Easter basket growing up was one thing I really loved. I wish I still had it to show you. I loved that it was big and had the perfect sized handle and I think my mom loved the fact that you could untie the ribbons and it would fold flat. My brother had a denim one and my sister and I had lime green twill ones with either grosgrain ribbon or ric rac, so we could tell them apart.
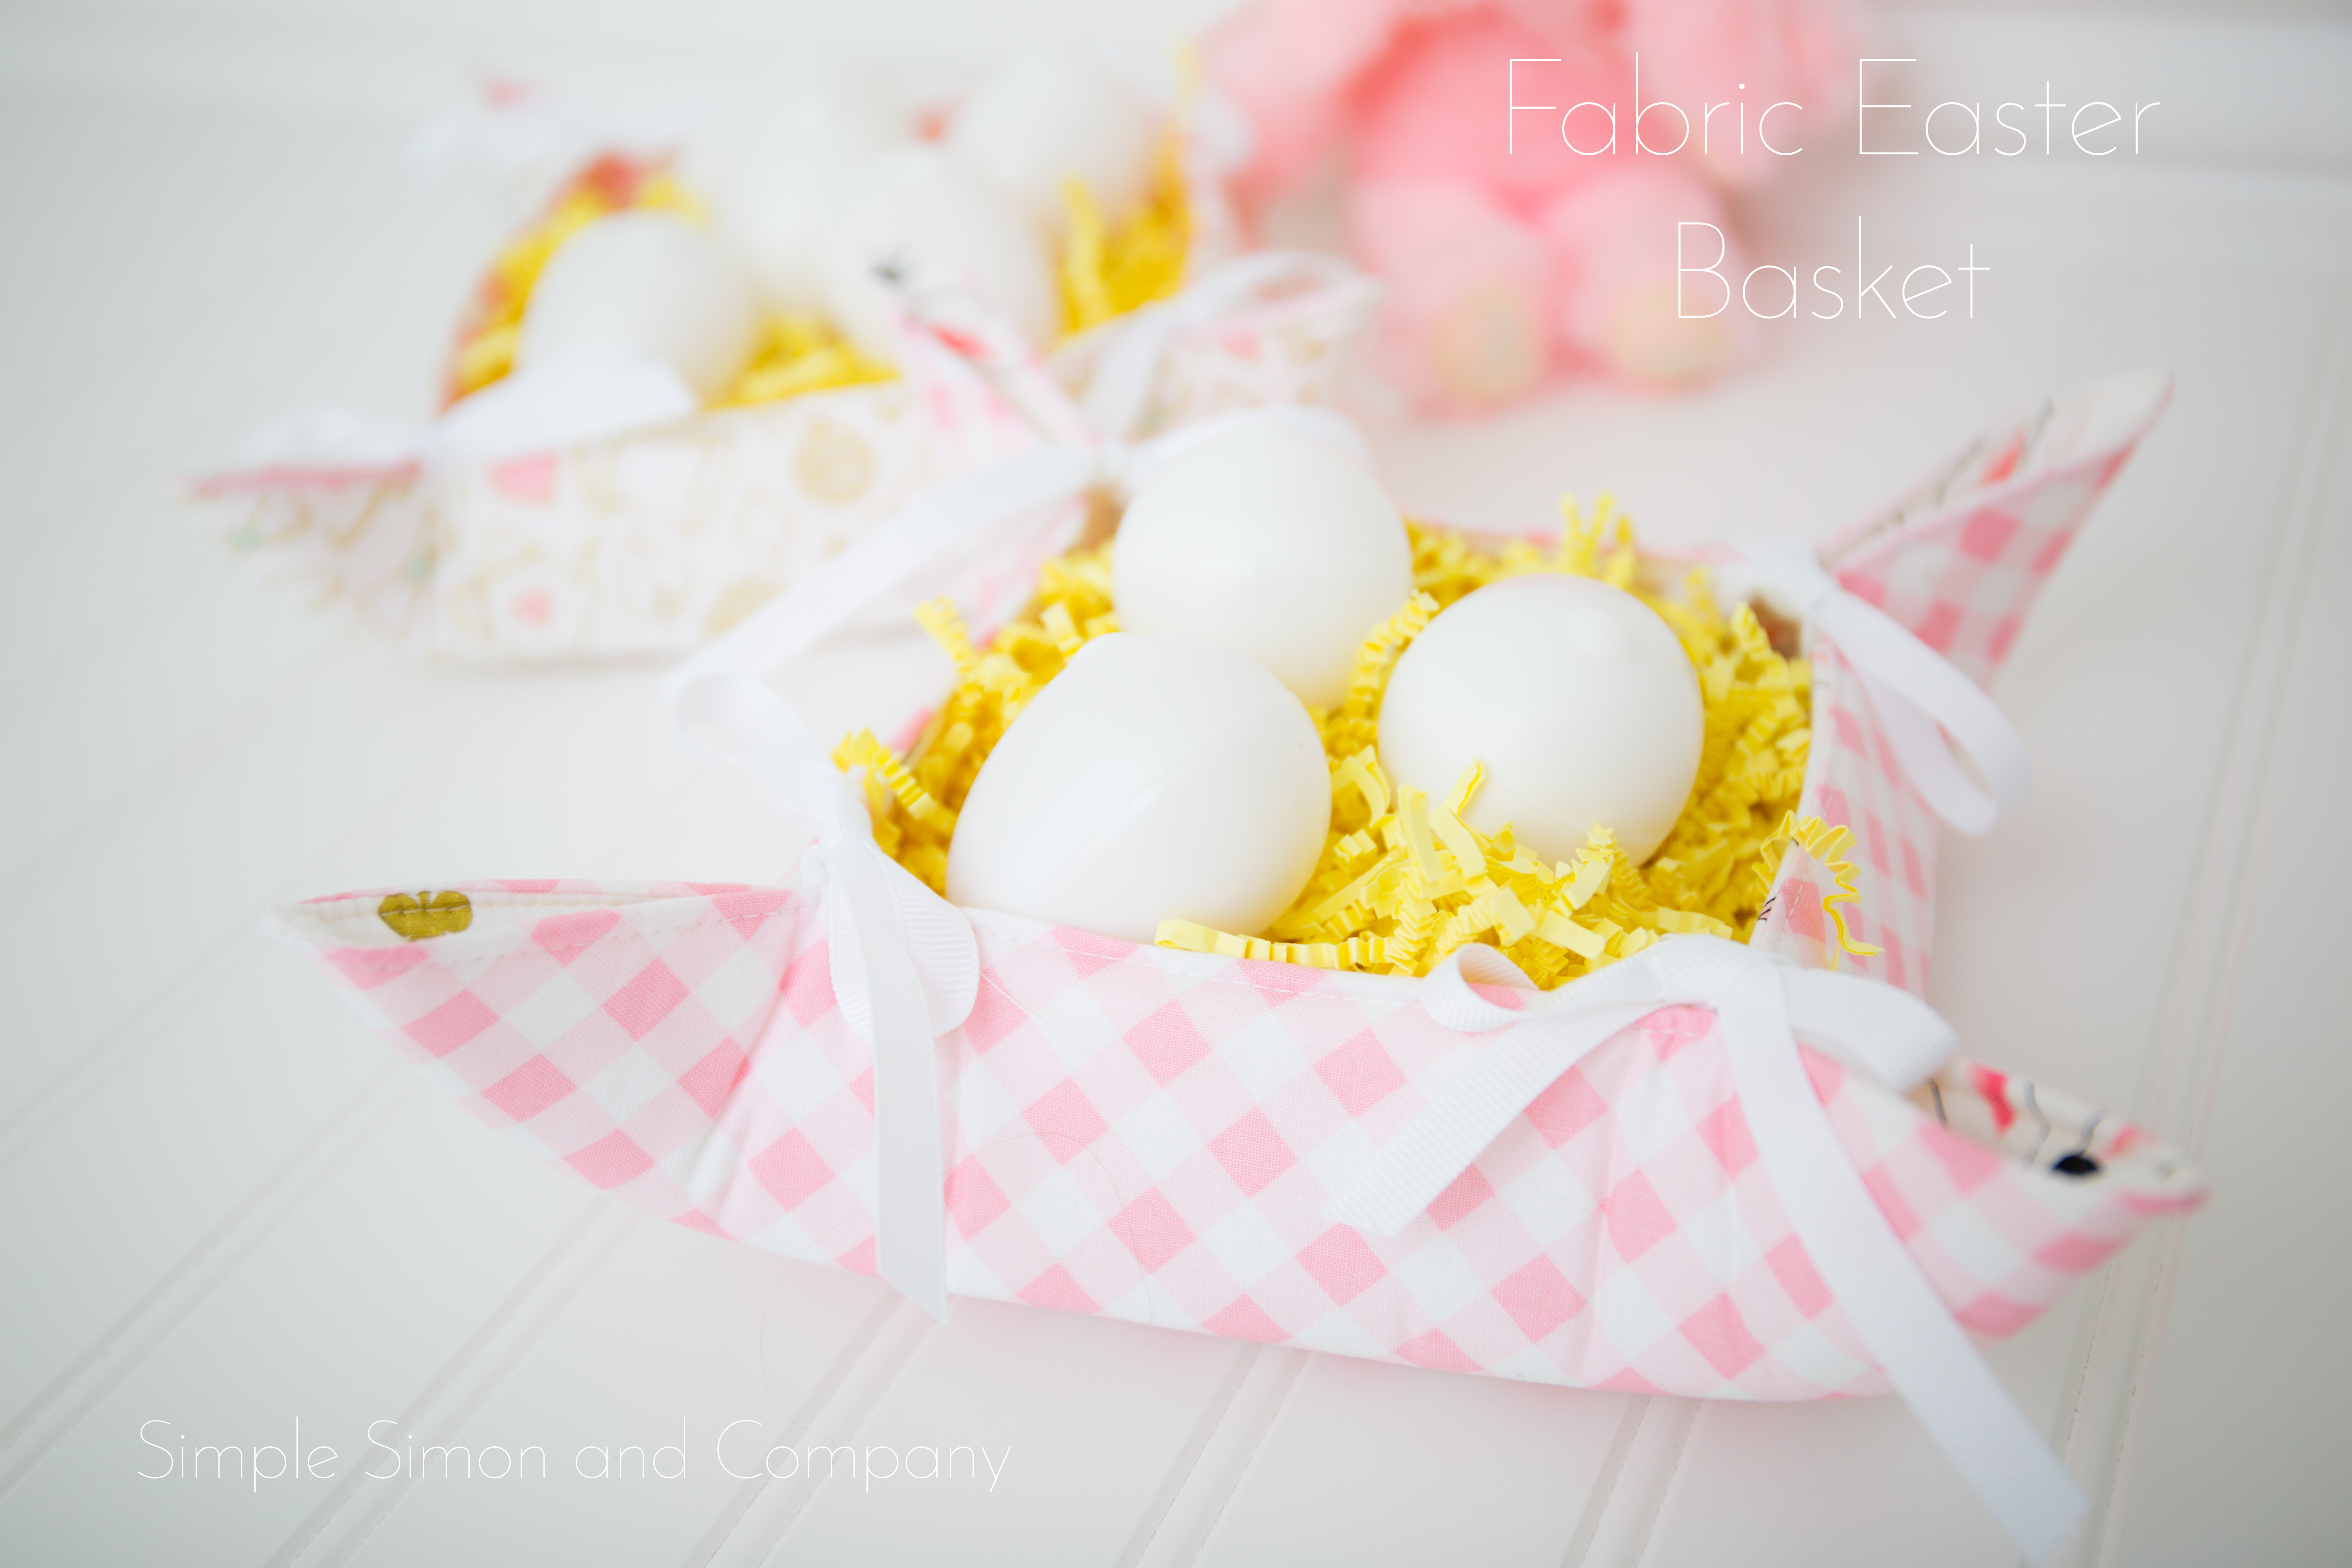
So taking inspiration from my mom today, I am making some fabric baskets similar to how she handmade our Easter baskets growing up. (These don’t have handles and are smaller, but they are made the same way.) I am using Wonderland II Fabric by Melissa Mortenson for Riley Blake Designs because they are perfect for Easter!.

One other great thing is that these fabric baskets are reversible, so you can use two different fabrics that you want to showcase!
For each basket you will need:
2 pieces of fabric cut to 11 inches by 11 inches (I used Wonderland II fabric from Riley Blake Designs)
1 piece of double sided fusible Pellon flex foam 11 inches by 11 inches *affiliate link
8 3/8″ ribbons that are 8″ long (I used white grosgrain ribbon) *affiliate link
thread, iron, sewing machine, pins
Fabric Easter Basket Tutorial
Step 1: Take square of fabric and fuse the wrong side to one side of the flex foam (being careful not to fuse the second side to your ironing board—I did this the first time, ha!)

Step 2: Place your 8 ribbons at each corner, measuring in 3″ inches and pinning as shown below.

Step 3: Place your second fabric on top of the ribbons with right sides facing together and pin around the perimeter, leaving an opening to turn the basket. Stitch around the perimeter of the fabric basket using a 1/4″ seam allowance making sure to backstitch at the opening to turn.

Step 4: Clip corners of the basket to reduce bulk.

Step 5: Turn basket right side out, poking out corners with a point turner. Then take basket back to your iron and press the second side of the basket to the other side of the fusible flex foam.
Step 6: Topstitch around the fabric basket. You could also do some quilting lines if you would like to….this would be a cute addition to the basket. Tie ribbons.

And now once you have made one you can play with the sizes and make more/ These would also be perfect for holding so many sewing or office supplies or even hair clips. So now it’s time to make so many more…happy fabric basket making!
 Elizabeth


Great tut but I do not get how to iron on only one side f double sided fusible ?
Very Sweet. Thanks for the tutorial.