Today we are so excited to announce our new partnership with our friends at
and we couldn’t be more thrilled. Even their motto “For the Love of Sewing” fits into our everyday lives and the family-run company has a history of encouraging that love of sewing for over 40 years!
And today we are happy to help them celebrate National Serger Month. National Serger Month is a month filled with projects that you can make on your serger and you even have a chance to win a Babylock Ovation serger. Head to www.nationalsergermonth.com for all the details and to enter to win your very own serger!
We have had the chance to test drive our new Babylock sergers and have been so impressed with the quality. And the jet-air threading is probably the coolest thing I have seen on a serger—-EVER! At the class we took, we couldn’t believe how easy it was to thread the machine….it’s a dream.
And so the first project was to make a simple skirt all on the serger! And even add some pintucked details with the pintucking foot that you can attach to your serger. (Another amazing foot, I tell you!)
Here’s how I made the skirt:
Supplies:
- Baby Lock Serger
- Pintuck Foot for Serger
- 1 yard chambray fabric
- 4 Spools Maxi-Lock serger thread
- 1 Spool all-purpose thread
- Cutting mat
- Rotary Cutter
- Quilting ruler for cutting fabric
- Tape measure
- Chalk or water soluable marker for marking pintuck lines
- One piece of elastic 2 inches smaller than waist measurement
- Large safety pin for threading elastic through casing
INSTRUCTIONS:
1. Using the tape measure, find a waist measurement and a waist to knee measurement for the person you are making the skirt for.
2. Cut your skirt fabric into a rectangle with the following measurements; Waist to knee measurement plus 3 inches for the height and doubled waist measurement for the length.
3. Serge all four sides of your skirt rectangle.
4. Using your fabric chalk or water soluable marker, mark where you want your pintucks horizontally on your skirt rectangle. 
5. Place your pintuck foot onto your serger with Guide A in place. Sew the three rows of pintucks. Here is a great video if you need some help.
6. After making the pintucks, place right sides of the skirt rectangle together and sew up the back seam of the skirt.
7. Turn over the top of skirt to form a casing for the elastic. Press and stitch leaving a 1 inch opening to thread elastic through. Using the large safety pin, thread elastic through casing and stitch together. Then stitch the casing closed.
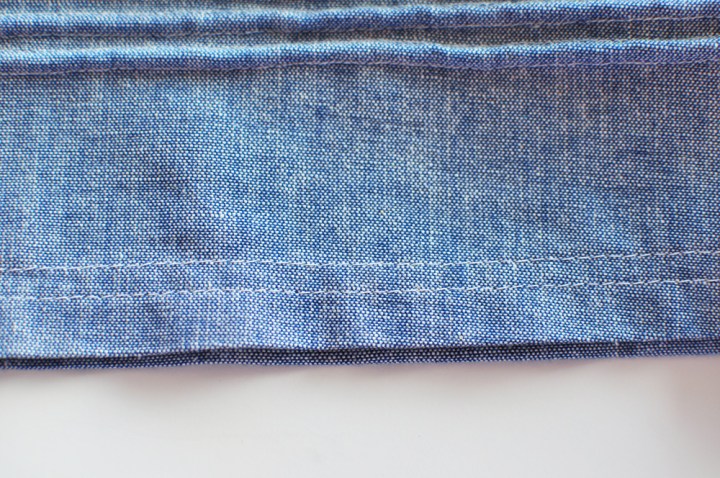
8. Hem the bottom of your skirt.
And you are done!


Oooh pretty!!! I’ve got a Craft Gossip post scheduled for this evening that links to your tutorial:
http://sewing.craftgossip.com/tutorial-pintucked-gathered-skirt/2014/04/09/
–Anne
This is so great! My serger still scares me a little – I can do basic stuff but I’d love to get a little braver with it. Those pintucks are so pretty!!
Oooh – and I can’t wait to see you girls in a couple weeks!!
You lucky girls. I love babylock! I need to learn how to use my serger better. Can’t wait to see you at SNAP!
What an incredible partnership. I have a Babylock serger and coverstitch machine, I love them both so much. Cute skirt, too.
High fives and fist bumps! Awesome news!
I have a baby lock serger that I got from my mom because she has no interest in using it. I am slowly learning how to use it. I love this post. Can you share a picture of the foot you mention?
I have a Babylock serger and think I definitely need a pintucks foot!!!