Did you all have a good weekend? I hope so. Liz and I are both home again and happy to be back to a bit of normalcy. We were both laughing about how we have never had so many days in a row of wearing “real clothes” and not our usual mom uniforms of yoga pants, jeans and tees or sweaters. We do have a few more stories to tell you about our conference over last weekend…and some things we learned, but I feel like I am still processing a lot of it. But I promise we will share soon!
And now on to zippers! This is another sewing skill that can seem terrifying. But I promise that they are not. Today I am going to show you a simple, centered zipper and another day next week I will show you my favorite kind of zippers—INVISIBLE ZIPPERS—because they are the most amazing invention in the world. And glorious! And a breeze to put in….but more on that next week.
First things first. Into the seam where you want to insert your zipper, sew a regular stitch….but beginning where you want your zipper to be, use a basting stitch until the top of your fabric.
Then place the zipper (right side DOWN) onto the basting stitches. Pin in place.
I like to baste my zippers down. I know that it does take about 2 minutes extra in the process (and sometimes with screaming kids it is 2 minutes to much) but I think that you get a much better placement of the zipper and it doesn’t move around like it can with just pins. Just my two cents for you—some people use glue sticks or tape for the same reason—so decide what works best in your sewing room.
Now flip your fabric over the right side. This is where you are going to sew around the zipper. I like to mark the bottom of the zipper (just under the metal clip) with a pin or a basting stitch like below.
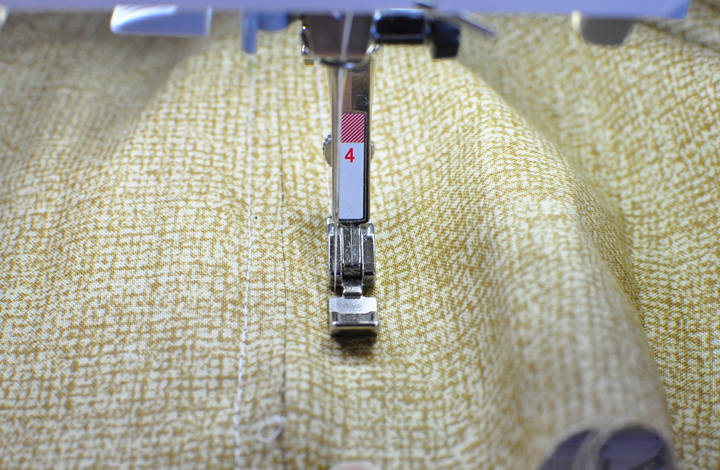
We are now ready to sew! Stitch in a long rectangle around the zipper using your zipper foot. I like to backstitch a couple of times at the bottom to hold it in place pretty well.
This is what it should look like at this point.
And now all you have to do it take out the basting stitches and you are done!
We have a couple more days of the series and then a HUGE giveaway to wrap it up—which we are really excited for!
Have you learned anything? Any other sewing questions that you have?
~Elizabeth


You may want to mention ironing the seam open before basting the zipper. Just a thought.
Great tutorial! I’ve got a Craft Gossip post scheduled for tomorrow morning that links to your tutorial:
http://sewing.craftgossip.com/tutorial-install-a-centered-zipper/2014/01/28/
–Anne
i am loving your tutorial posts. I put a zipper in a pillow recently and the pillow looks better than the envelope style (for me). I am wondering that when you do the invisible zipper post if you could show the pressing the zipper out because my pressing didn’t work when I tried it. Thank you.
I am so thrilled that I found your blog recently! I Was terrified of zippers and had just about given up using them when I saw this. Now I understand how to put a zipper in. I an self taught so there are a lot of things that I am still learning and this series has helped me tremendously! Thank you for doing this.
This is great. I usually use scotch tape to guide me when I stitch around the zipper. The cheap stuff that isn’t so wide works best